Thursday, February 16, 2012

Nursery Makeover?

I recently received an email from Tara, the editor of Babylifestyles.com.


Can you believe it? She wants to feature the nursery I put together for my sister's baby! 


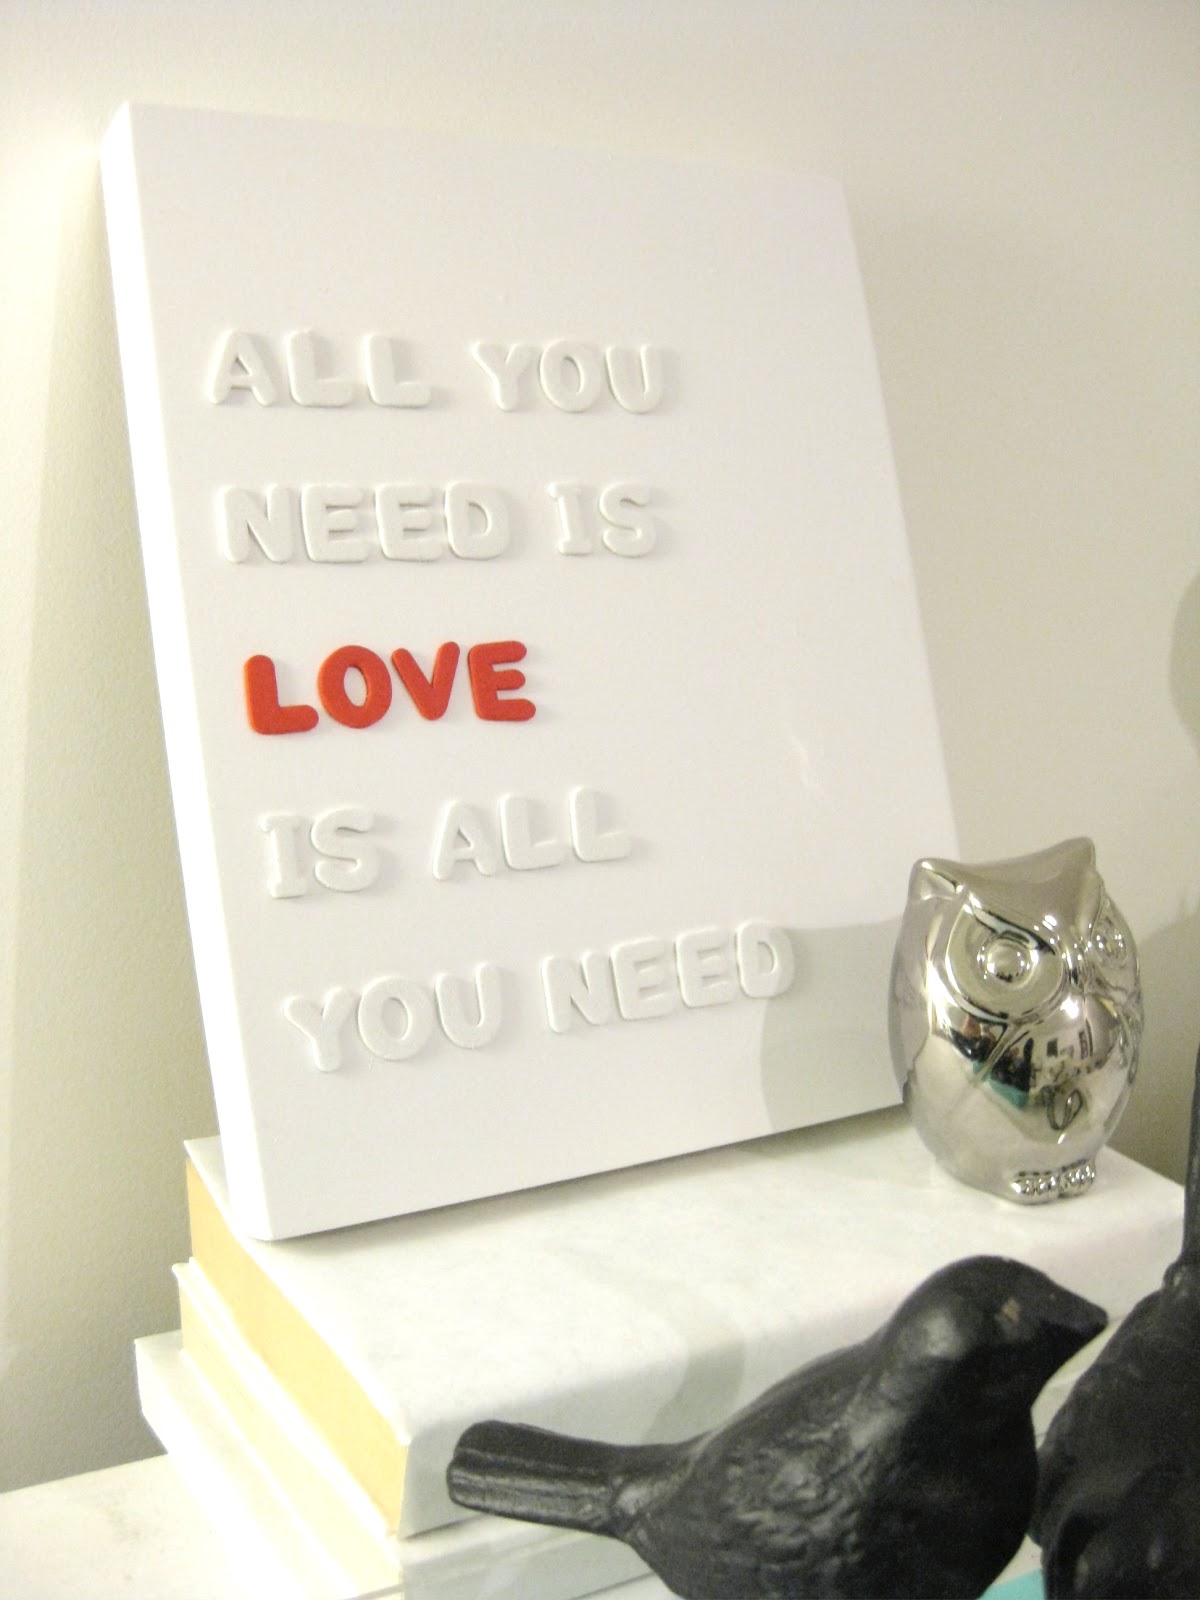
Life: Designed The DIY Nursery Project
For the feature, Tara asked me a few questions that got me thinking more and more about this nursery.  (I'll post a link to the feature when it goes live)


The nursery was completed late last summer. Since we didn't know the sex of the baby I was determined to be as gender neutral as possible but in a non traditional way.


I didn't have a problem with choosing colours for a gender neutral room because in my head I thought even if the baby was a girl, I didn't want her to have an ultra girly girl room.


Well....ever since baby Mia arrived on September 21, 2011 I've secretly been wanting to redo her room in shades of pink. Yup. ALL PINK. 


I want to put her in tutus and girly dresses and make her the girliest girl you've ever seen. At least for now. When she's older, I want her to be tough and a bit of a tom boy (with a feminine side of course!) Basically.... the perfect girl. Haha! No pressure Mia!


I saw this tulle table on Pinterest and I SO want to try and make it for her room one day.


I admit it. I love tulle!


Want proof? Check what I've had saved on my computer for months! (If anyone knows the sources to any of these photos, please let me know!)


Ok the last two aren't tulle, but they have the same sort of effect.


And no. I'm not getting married. I just love tulle wedding dresses. =)


I'm thinking in the summer if my sister/brother-in-law approve, I'll redo my niece's room. Since I don't want to throw out ALL my previous work, I'll keep the yellow, maybe the grey, toss the blue and add a TON of pink. We'll see. =)


For now I've got to start gathering pink inspiration! And not a soft baby pink... I'm thinking bold, hot pink! I just hope it doesn't turn out to be a hot mess!


So how about it? Are you a tulle gal? It took me years to admit it, but I totally am!

Wednesday, February 15, 2012

Popsicle Stick Fence

Hi all!


Here's a really simple tutorial on how to achieve this fence that I made for my nephew's 100 day celebration.

Life: Designed
I made it in just a few minutes and luckily I had all the items on hand so it didn't cost me anything!


You'll need:


Jumbo popsicle sticks
Foamcore
Hot glue gun
White spray paint


I started with a foamcore square that I cut to the size I wanted and scored a thin double line where the popsicle sticks would stick into. Peel out the bit of foam between the lines and then run one stick up and down the void to make sure you have a groove.

Life: Designed
Measure (or eyeball) how far apart you want the sticks to be and hot glue them in the grooves.

Life: Designed

Glue gun some sticks running horizontally. You'll need to measure and cut the sticks so that any "seams" are hidden behind a vertical stick.


Life: Designed

You can leave it the blonde wood colour or add a couple coats of spray paint to create a white picket fence!


Now for grass...


When I made the felt streamers, I had a bunch of scraps left over:

Life: Designed

Aaaand instead of throwing them out like a normal person, I hung onto them because I kind of liked how they looked all tangled together.


Oh no... I'm turning into my mother- unable to throw anything away... BUT in my defense, I thought it sort of, kinda, maybe looked like grass.


Life: Designed
I think it sorta works, no?


Well, there you have it! Super easy to do and creates a little vignette! It also prevents little hands from getting their fingers in the icing! =)

Tuesday, February 14, 2012

DIY Love Quote Canvas

It's not too late for a Valentine's Day project right?! 
You can make this in 5 minutes! (plus drying time)

I had found this awesome piece of work on Pinterest a couple days ago and I thought it was a DIY project but turns out it retails for about $300 (CDN)!! It's beautiful but that's just insane! Is it made from diamonds?! (We actually saw a piece of art today that had diamond shavings sprinkled on it!)

Source

I love everything about this (minus the price). I love all the negative space around the text and the different size of texts. It's so simple but lovely!
So off I went on a quest to hunt down supplies to make try to recreate it. It took about 3x longer finding and buying supplies than to actually make it! 

Here's my version:
Life: Designed

Supplies:

Life: Designed

1) A canvas- I used an 8 x 10 "Primed Wooden Cradle Board" from Michael's. It came already white so that made it easy! $8.50 with a 50% off coupon! Whoo hoo!

2) Red paint + small paint brush (I already had on hand but the craft paint is only about a dollar)

3) Foam letters (I had a heck of a time finding inexpensive small wooden letters. I would have ordered some from Amazon but I was not willing to wait 2 weeks! When I have something in mind, I am SUPER impatient and it needs to get done ASAP).
$2.25 from Michael's again with a coupon!

4) White matte spray paint (I already had this but it's about $6 from Home Depot)

While the paint on the red letters dried I figured out where I wanted the letters to go and lightly drew guidelines on the canvas.

I wasn't sure about the foam letters- would it look cheap? Will the spray paint stick? Luckily they turned out better than I expected and it's a very economical choice but next time, I think I'll invest in wooden letters. Close up, the foam has tiny bubbles that reveal they are foam and not wood. What I do love about them is that they are self adhesive. Major time saver!

Once the letters were adhered, I gave the whole thing a couple coats of matte white spray paint. Then I added the red "love" letters and voila!

Life: Designed

A $300 piece of art can be made for less than $20!


This project is SO easy and I love the way it looks with the raised letters.

I know the white art gets lost with all the white around it but that's just temporary! I can't wait to move into a place where I can paint my walls any colour I want!

Life: Designed
Life: Designed

As you can see, I'm not settled on the styling of this dresser. I'm going to be doing a dresser makeover in the near future and I have my eyes on this Anthropologie pull.

Life: Designed

Isn't it lovely? But that's for another time and another post!

I think the canvas art would look AMAZING as a huge canvas piece or even as a small itty bitty one. I'm definitely making this art piece again for myself, family, friends, basically anyone and everyone! Better start gathering some awesome quotes! =)

Happy Valentine's Day! Hope you enjoy the day with your loved ones!